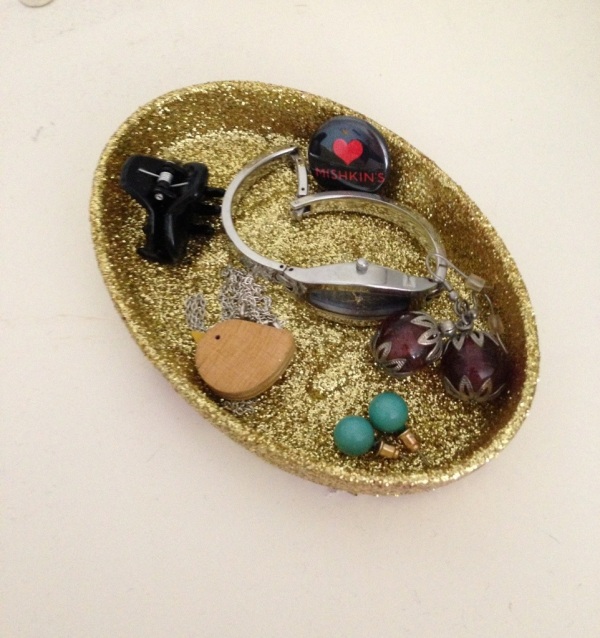
So here we are, at the beginning of the first of my new-look Pinterest Corner posts. Anyone else excited, or is that just me…!
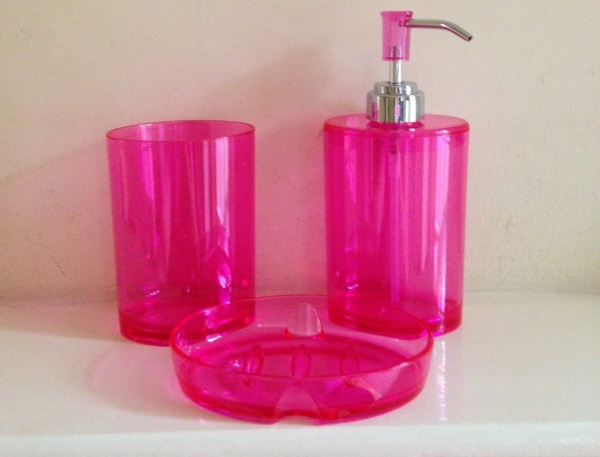
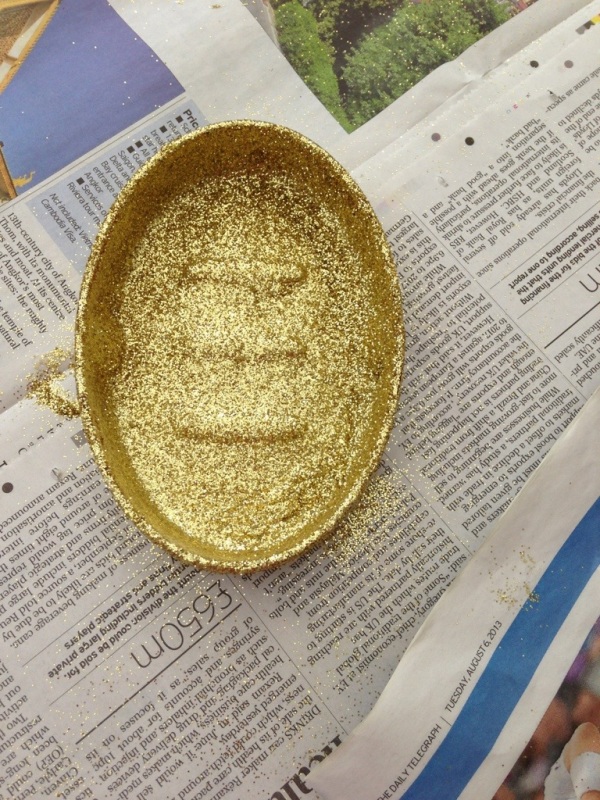
For my first improved crafty Pinterest Corner post I’ve chosen something I’ve been meaning to make for ages, ever since I saw the original blog post about it on A Beautiful Mess back in February! I saw it, pinned it to Pinterest and then promptly forgot about it! However, when I was perusing my Pinterest boards a few weeks ago I saw the original pin and it made me smile thanks to all it’s lovely glittery goldness and I knew that would be the first thing I made. I didn’t just choose it because it looked nice, but also because I really need a place to keep my jewelrey every night. At the moment it sits on my chest of drawers and I’m always losing bits when I knock them on the floor. So this sparkly dish would be awesome.
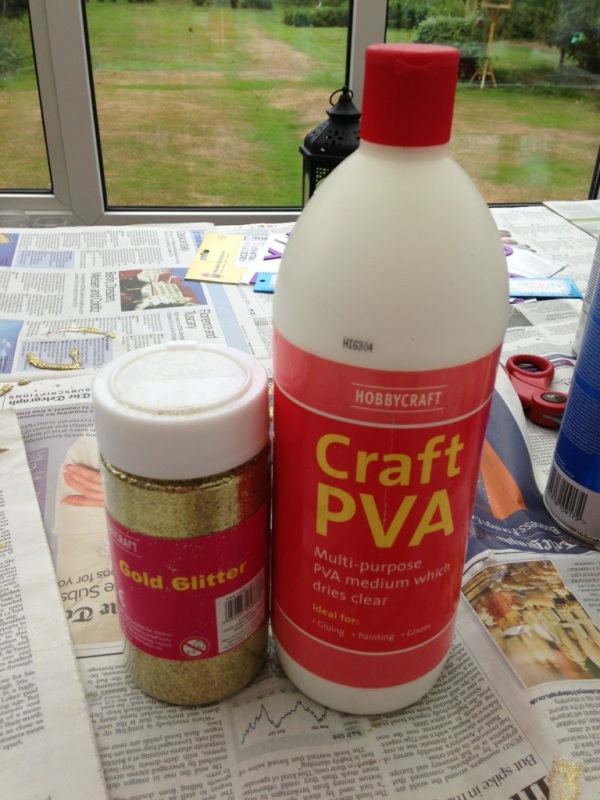
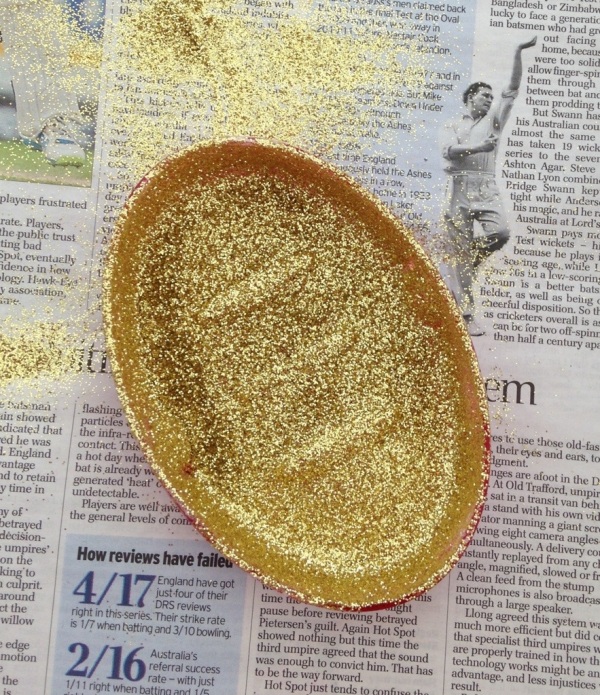
I obviously didn’t create this idea from scratch, I totally followed the method from the original blog post here, so I can’t take any of the credit for this genius idea. But I’m so glad that they came up with this idea, as it’s such a simple and easy way of updating something that’s really plain. And I’m glad I’ve given it a go, it looks so so pretty! So look below for my pictorial (is that a word?!?!) step-by-step guide to creating this crafty gold dish.


